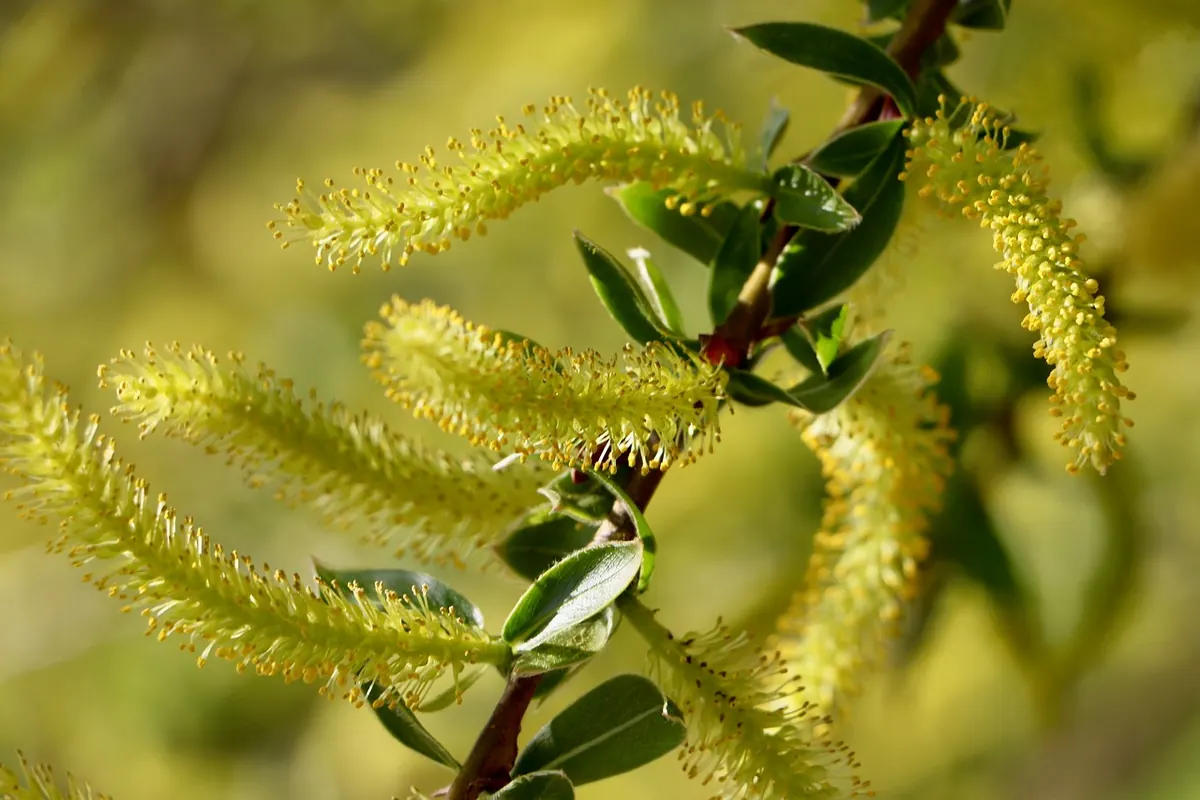
Field Comparison: Journaling a Willow in Spring Versus Autumn
Journal the same willow twice in a year: what to record on spring catkins and leaf burst, what to note in...


Willows are generous trees to draw until you try to capture every leaf. Then they become a green storm. The trick is to stop treating the willow as a thousand separate details and start seeing the handful of shapes that hold it together: the fountain-like crown, the short trunk, the fork, the long hanging curtains, and the gaps between them. In a field sketch, those shapes do more work than any carefully rendered leaf. This guide breaks the willow into five simple shapes you can block in with a pencil, then refine only as far as your journal needs.
Find a willow with a clear silhouette. A tree at the edge of a pond or in an open park is easier to read than one pressed into a hedge. Stand about twenty or thirty paces back, far enough that the whole crown fits in your view without tilting your head. Before the pencil touches paper, spend a full minute just looking. Trace the outer silhouette with your eyes, then follow the main trunk up to where it forks. Notice how the branches arch outward before the thin stems fall. Ask yourself: where is the tree widest? Where does the light come through? Which hanging curtains are darkest, and which are catching the sky? This quiet observation is not wasted time; it is the sketch's foundation. A willow that is rushed in the looking stage will feel muddled on the page, no matter how many leaves you add later.
It also helps to choose a single, simple story for the sketch. Are you drawing the whole tree as a shape against the sky? Are you focused on the way one curtain of leaves sweeps across the trunk? Or are you studying the fork where the main limbs divide? Pick one idea before you start, and let the five shapes serve that idea. If you try to say everything at once, the drawing will lose its clarity. A willow is complex enough without adding confusion in the planning stage.
The five shapes are not a rigid formula, but they do have a natural order. Start with the biggest, loosest shape and work toward the smaller, more specific ones. Each shape should be blocked in lightly, because you will adjust the proportions as you go. Keep your pencil moving and your lines relaxed. You are not drawing the final edges yet; you are building a scaffold.
The crown of a willow is often described as fountain-like, and for good reason. Imagine a burst of water rising from the center and then falling outward and down. Draw this as one loose cloud or umbrella shape, not as a collection of branches. Use a light, sweeping line. At this stage, the crown can look almost like a scribbled balloon. The important thing is the overall gesture: wide at the top, falling lower on the sides, and sometimes asymmetric. Pay attention to the width-to-height ratio. Many willows are wider than they are tall, especially when they are mature. If you get this big shape right, the rest of the drawing will sit comfortably inside it.
Willow trunks are often short and stout, sometimes leaning or splitting low to the ground. Draw two simple lines for the trunk, tapering slightly as they rise. Avoid making the trunk too tall or too thin; that is a common mistake that turns a willow into an oak or an elm. Look for the point where the trunk meets the ground, and note any roots or flare. You do not need to render bark texture at this stage. Just establish the trunk's width and direction. If the tree is leaning, let the trunk lean; that gesture will make the sketch feel alive.
Follow the trunk upward until it splits into several main limbs. This fork is the skeleton of the tree. Draw it as a simple Y or a hand with a few thick fingers. Most willows fork into three to five major branches, and those branches then divide again. You do not need to draw every division. Capture the main directions and the angles. The fork should feel like it is supporting the crown, so check that it sits underneath the fountain shape you drew first. If the fork feels too small or too low, adjust it now while the lines are still light. This is the shape that gives the willow its structure and keeps the hanging curtains from looking like they are floating.
Now for the most recognizable feature: the long, hanging curtains of thin stems and leaves. Resist the urge to draw individual leaves or even individual stems. Instead, see the curtains as ribbons or sheets that fall from the crown. Use long, vertical strokes, grouping several strokes together. Vary the length and density. Some curtains will fall almost to the ground; others will stop halfway. Some will be dark and heavy; others will be light and airy. Draw a few strong, confident strokes to suggest the direction of the fall, then add a few lighter strokes to soften the edges. The curtains should connect visually to the fork, even if you do not draw every connection.
The gaps between the curtains are just as important as the curtains themselves. These negative spaces let the sky or background show through, and they give the willow its breathing quality. When you draw the curtains, deliberately leave gaps. Do not fill every space with lines. Look for the larger openings: the window between two main curtains, the slice of light near the trunk, the airy space at the bottom where the tree lifts off the ground. Draw the gaps as shapes, almost like you are drawing the sky instead of the tree. If your sketch starts to feel heavy or cluttered, add another gap. A willow with clear gaps reads as a willow; a willow with no gaps reads as a green blob.
If you want a repeatable method for a field sketch, try this sequence. It keeps you from getting lost in detail too early.
This sequence works for a five-minute gesture sketch or a half
Photo: Krzysztof_War / Pixabay
Journal the same willow twice in a year: what to record on spring catkins and leaf burst, what to note in...
A seven-day journaling project that tracks temperature, rain, wind and wildlife on the same route at the...
A twenty-minute garden routine that gets children looking closely: simple prompts, quick drawing tasks,...